Many websites today require a database for all data to be stored in a secure place ready for when a visitor lands on your site, were the data can be seen.
To create a database you must login to your cPanel / Web hosting account.
If you need to know how to do this – click here.
Once logged in, scroll down until you reach the Databases Section and click MySQL Databases.

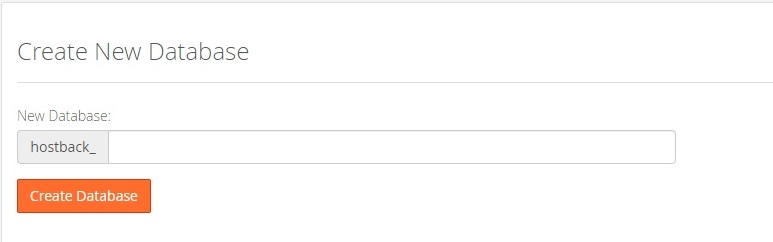
Here you would now need to type in your database name and click Create Database button to continue. Once completed – you will see a confirmation screen and are asked to click the back button to return to the previous screen.
When you return to the previous screen where you created your database – you will now need to scroll down to the MySQL Users section. We are now going to create a database user and add it to the database. Once completed – all information is used to connect your website to the database.
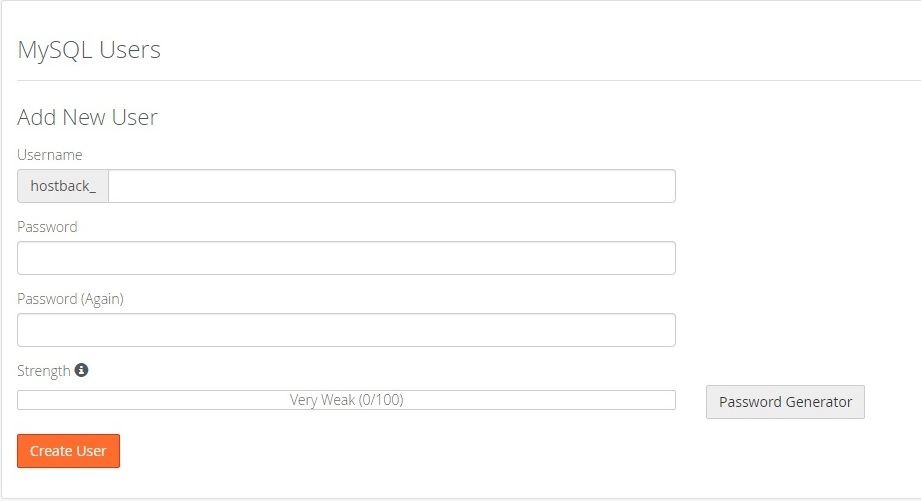
To create a user – type in a Username into the top box provided. You will then need to create a Password, which can be typed in manually or you can click the Password Generator button so the system can create one for you. Either way – please take note of these details as you will require them when connecting your website to the database at a later stage.
Once completed – click the Create User button to complete.
Again – you will be asked to click the go back button to be brought back to the previous screen.
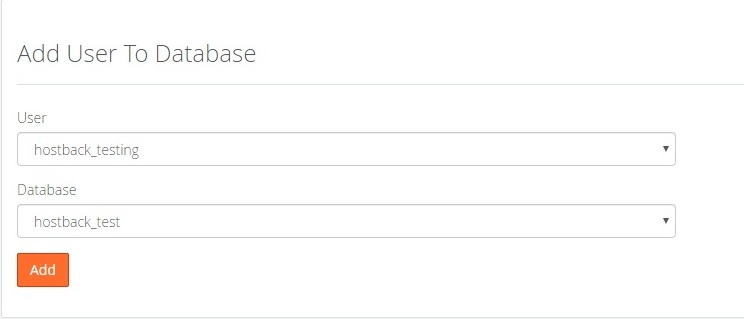
Finally – now we have a database and a database user – we must add the new user to the new database.
To do this – scroll down the screen until you reach the Add User To Database Section.
If you have multiple databases or users – you can use the dropdowns to select the correct database and user. Once you’re happy with the database and user selection – click the Add button.
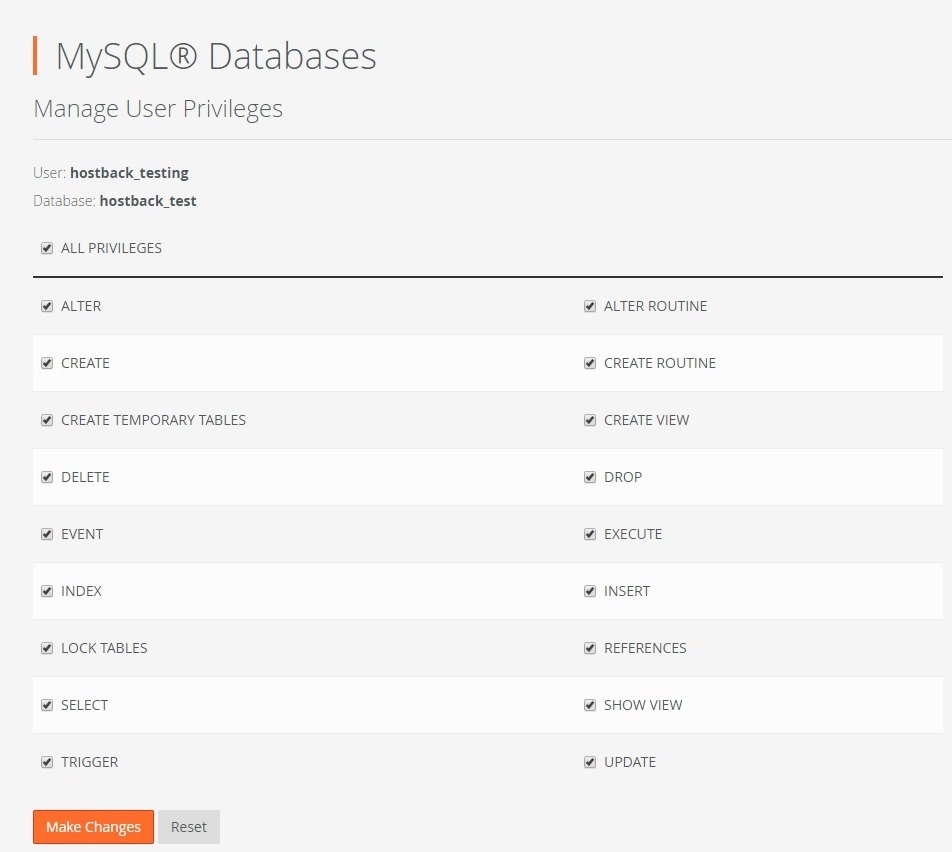
On this next screen – we are going to give the new user full access to the new database by clicking the Tick Box next to All Privileges and then click the Make Changes button to complete.